
Ember and Blade drops you into the Sanctuary of Oblivion with three weapons, a stamina bar you have not learned to respect, and a field of demons between you and the first boss. The demo makes no attempt to hide the route: Act 1 is one continuous area, Ashen Meadow, ending in Baphomet's arena.
The first two hours go badly for the same three reasons every time — swinging without watching stamina, treating elites like regular enemies, and spending Amber before you know what it buys. Fix the order and Act 1 stops being a wall.
Start in the Sanctuary, not the field
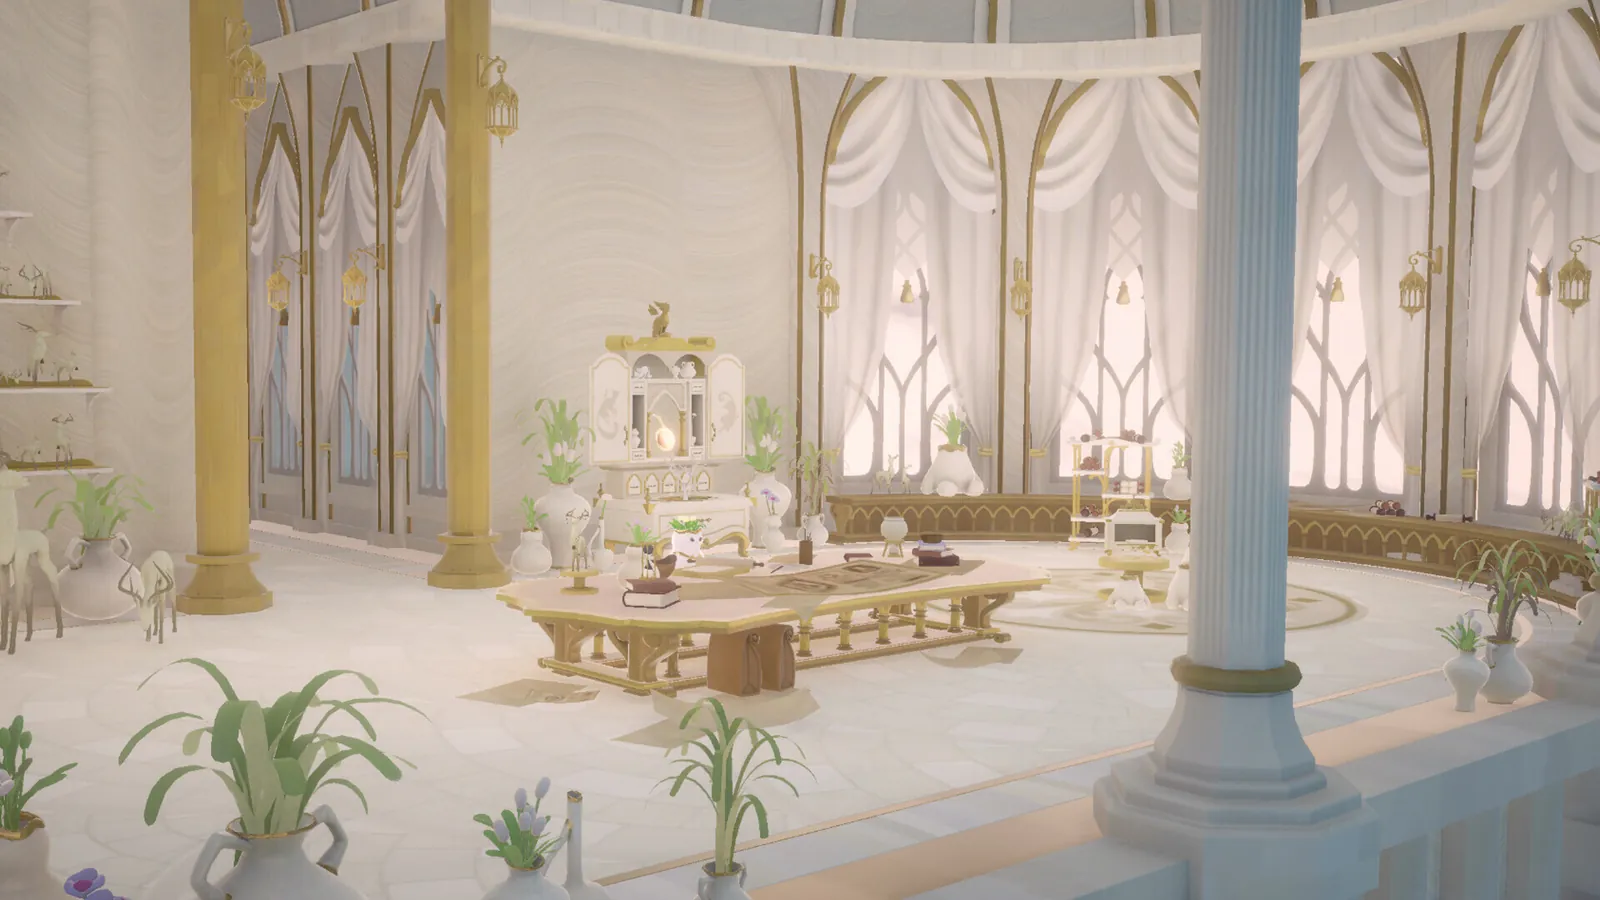
The Sanctuary is the hub you return to between runs, and in the current demo it holds more than it first appears. The elevator lets you jump straight into Act 1 or into Arbor's Crucible; a shop sells weapons and trinkets for Amber; a training dummy stands ready, and since Demo 2.1 it is a Baphomet dummy rather than a generic one.
Two things are worth doing before your first real attempt. Hit the dummy until you can chain light into heavy without looking at your hands, and walk the Sanctuary once so you know where the shop, the elevator and the Forge are. Every one of those becomes a destination after a failed run.
 Official media
Pick one weapon and stay with it
The demo hands you three: Sword, Hammer and Shotgun. They are not three flavours of the same thing — each one asks for a different relationship with stamina.
- Sword is the safe first pick. It has the widest set of combos, so a mistimed input still lands something useful, and its reach covers the space a dodge would otherwise buy.
- Hammer hits hardest and moves slowest. Charges and rush attacks eat stamina, and running dry mid-swing is how most Hammer runs end in the first ten minutes.
- Shotgun is the ranged option added in Demo 2.0. Heavy attacks fire a spread, and the spinning special covers a circle around you — but it is a close-range weapon pretending otherwise, and it punishes panic-firing.
The full game plans six weapon types. Nothing in the demo lets you see the other three, so the choice this month is really about which of these three teaches you the stamina economy best. That is the Sword.
Read the field before you clear it
Ashen Meadow pushes you forward with enemy density, but the demo also rewards going sideways. Side quests inside the act weaken the boss before you reach him, and optional fights drop the currency you need for weapon upgrades.
- 1
Clear the opening field slowly
Kill groups from the edge inward. The first area exists to teach you that enemies arrive in arcs, not lines.
- 2
Take the side routes
Every optional encounter in Act 1 either weakens Baphomet or pays in Blood Crysts for the Forge.
- 3
Bank Amber before spending it
Amber feeds the Grace of the Arbor. Buying the first cheap node is rarely the best node, so hold until you know the branch you want.
- 4
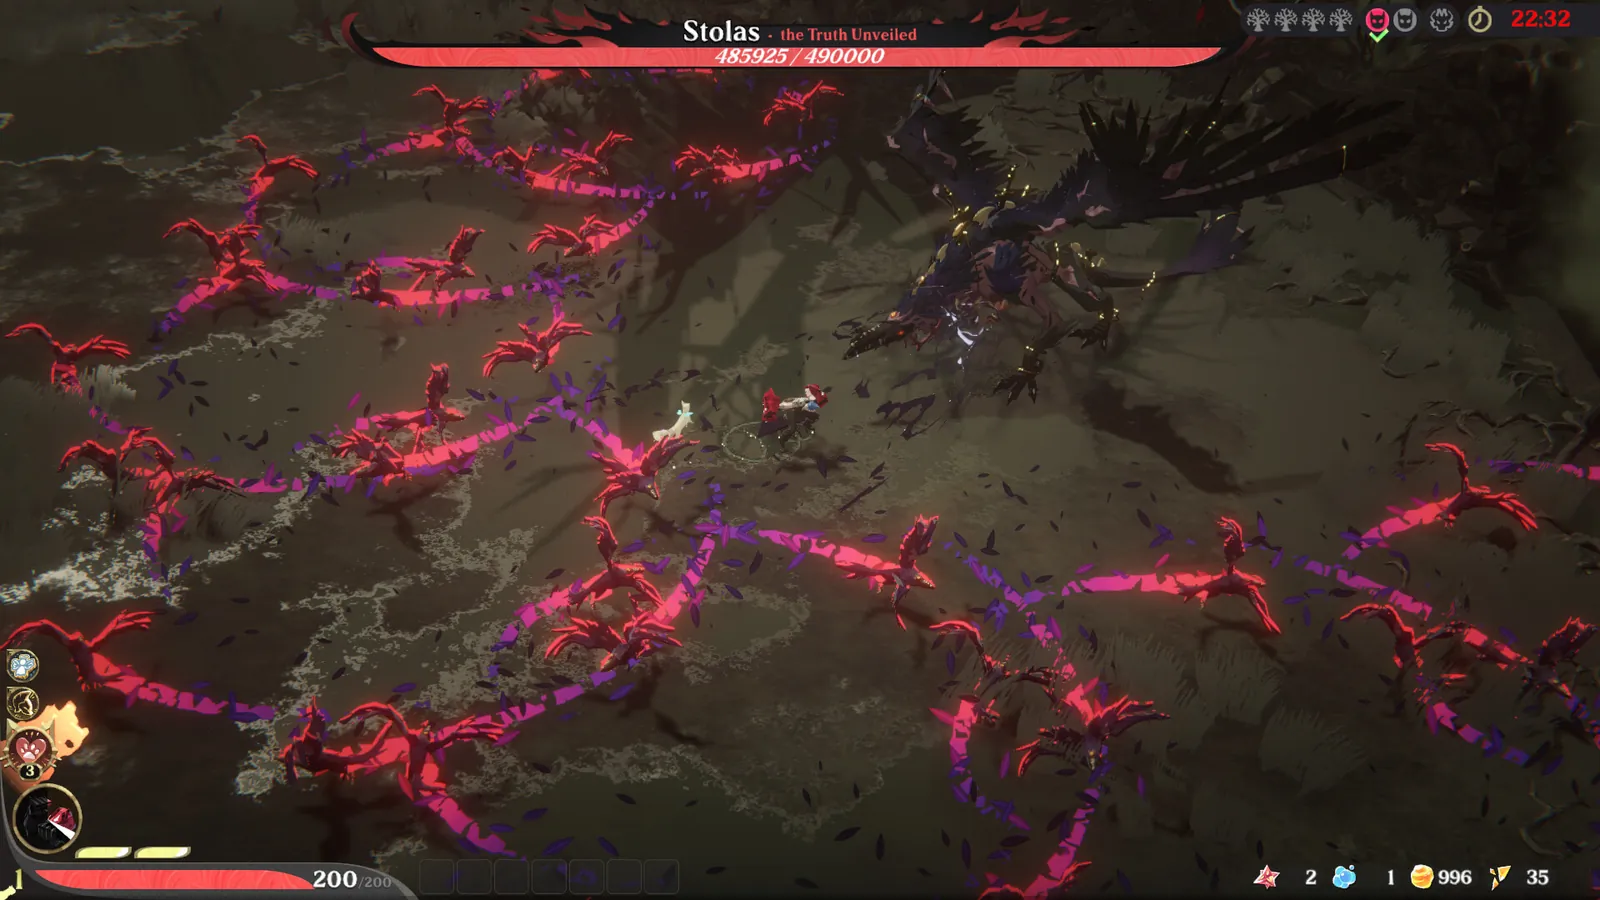
Reach the mid-boss room
The lighting drops and the ground turns red before the mid-boss. Treat the colour shift as the warning it is.
- 5
Walk into the boss room with stamina
Baphomet's arena has no trash to build resources on. Arrive full.
 Official media
Spend the first currency on survival, not damage
The Grace of the Arbor is a branching node tree fed by Amber. Nodes either raise core stats, widen your Blessing pool, or add something that carries between runs.
Early on, the nodes that keep you alive are worth more than the ones that raise damage. A run that survives to the boss with mediocre damage still learns the fight; a run that kills faster but dies at the mid-boss teaches nothing. Stamina recovery and maximum stamina sit on the same tree, and both change how much of the combo system you can actually use.
The three deaths worth avoiding
Most first runs end in one of three places, and none of them is the boss.
- The first elite. Elites no longer stagger from light attacks. If you keep swinging light, you trade hits with something that has more health than you. Heavy attacks and dash attacks interrupt them; light attacks do not.
- A puddle. Enemies can be knocked into water and off ledges, and so can you. Fighting next to a cliff edge is a choice, and it is usually the wrong one.
- The exhausted state. Emptying the stamina bar does not just stop your dash — it locks you out until the gauge refills. Dash less than you think you need to, especially in the second half of a fight.
Leave the Crucible alone for now
The Sanctuary elevator has a second destination: Arbor's Crucible, an arena mode with its own leaderboard and its own event windows. It is the most tempting thing in the hub and the worst place to spend a first session.
The reason is the mode's design. Crucible runs use randomised Blessings, which means the build you get is not the build you planned, and the enemies scale for players who already know the combo branches. A player who cannot yet interrupt an elite reliably will spend those runs learning the same lesson at a higher cost.
Come back once Act 1 is cleared. The Crucible is where a finished build gets tested, not where one gets made.
What carries forward
Nothing in the demo carries into the full game. Progress does not transfer, and the store page says so on the demo's own listing. Treat the next two months as a lab: learn the combo branches, learn what each angel's Blessings do, and arrive in January already past the part where the game is hardest — the first hour.
Do not skip the Codex
Demo 2.0 added a Codex with action videos and entries on the Break system. Reading the Break entry before the boss fight is the difference between hammering a health bar and emptying a gauge that makes the health bar irrelevant.