
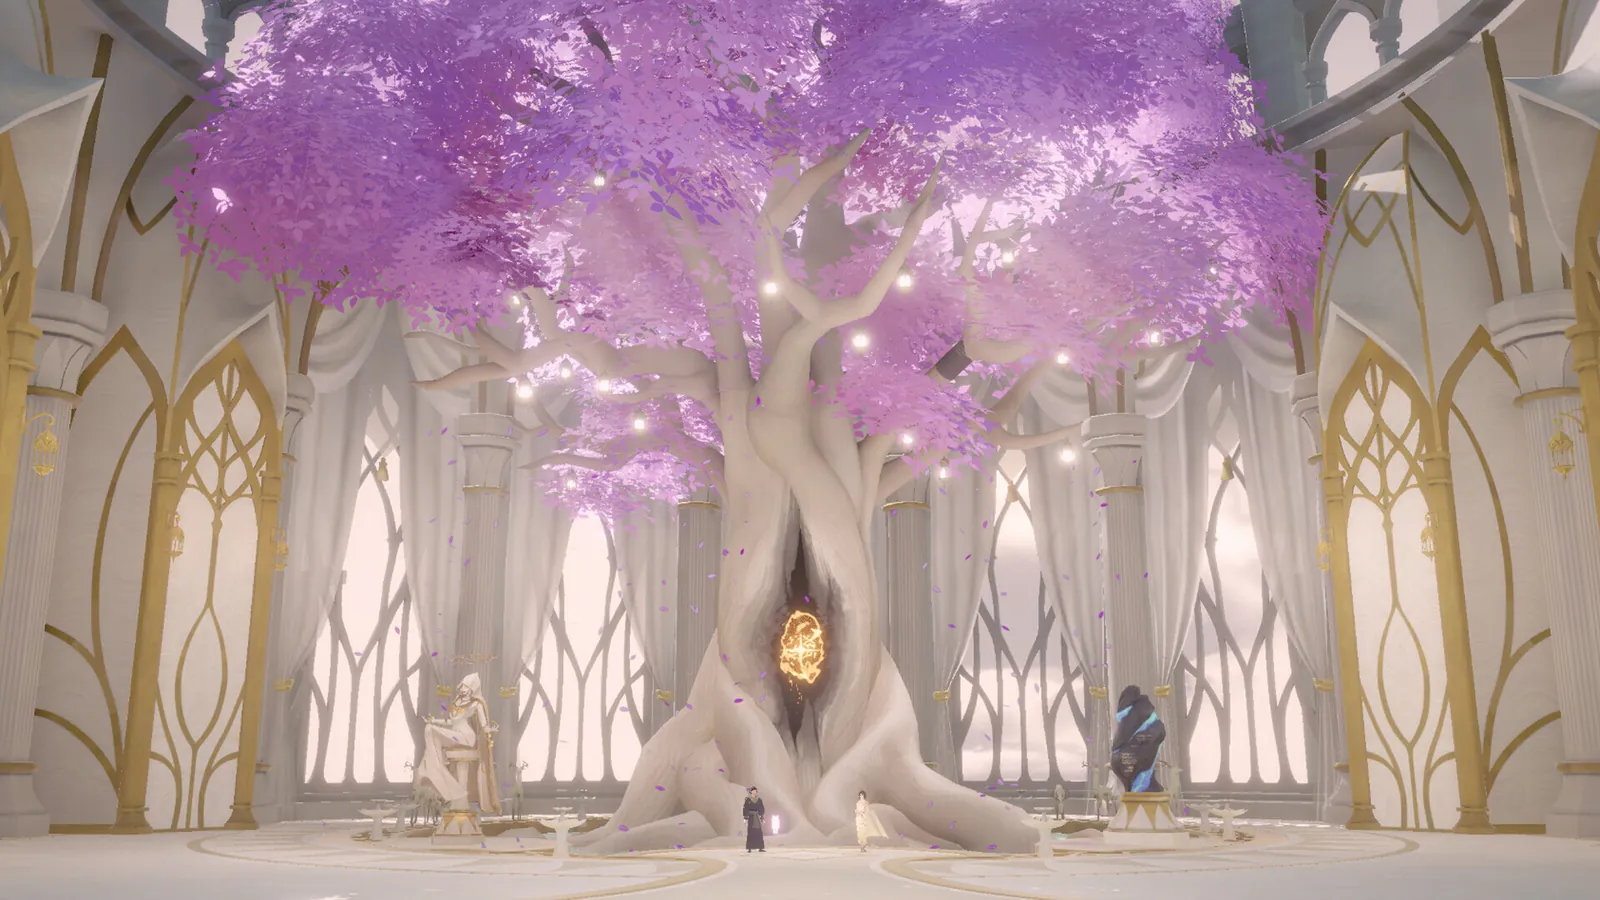
Ember and Blade splits progression in two. Inside a run you build from Blessings and Arcana; between runs you build from the Grace of the Arbor and relics. The mistake that costs the most time is treating the between-run systems as a way to win a run you have not learned yet.
The four systems
- Blessings — granted by five angels, slotted onto light attack, heavy attack or dash. Run-scoped.
- Arcana — cards that rewrite rules rather than add numbers. Run-scoped, and the layer that changes how stamina behaves.
- Relics — crafted in the Workshop from Claynite, and slotted before a run. Three starters are available from the beginning; more unlock through play.
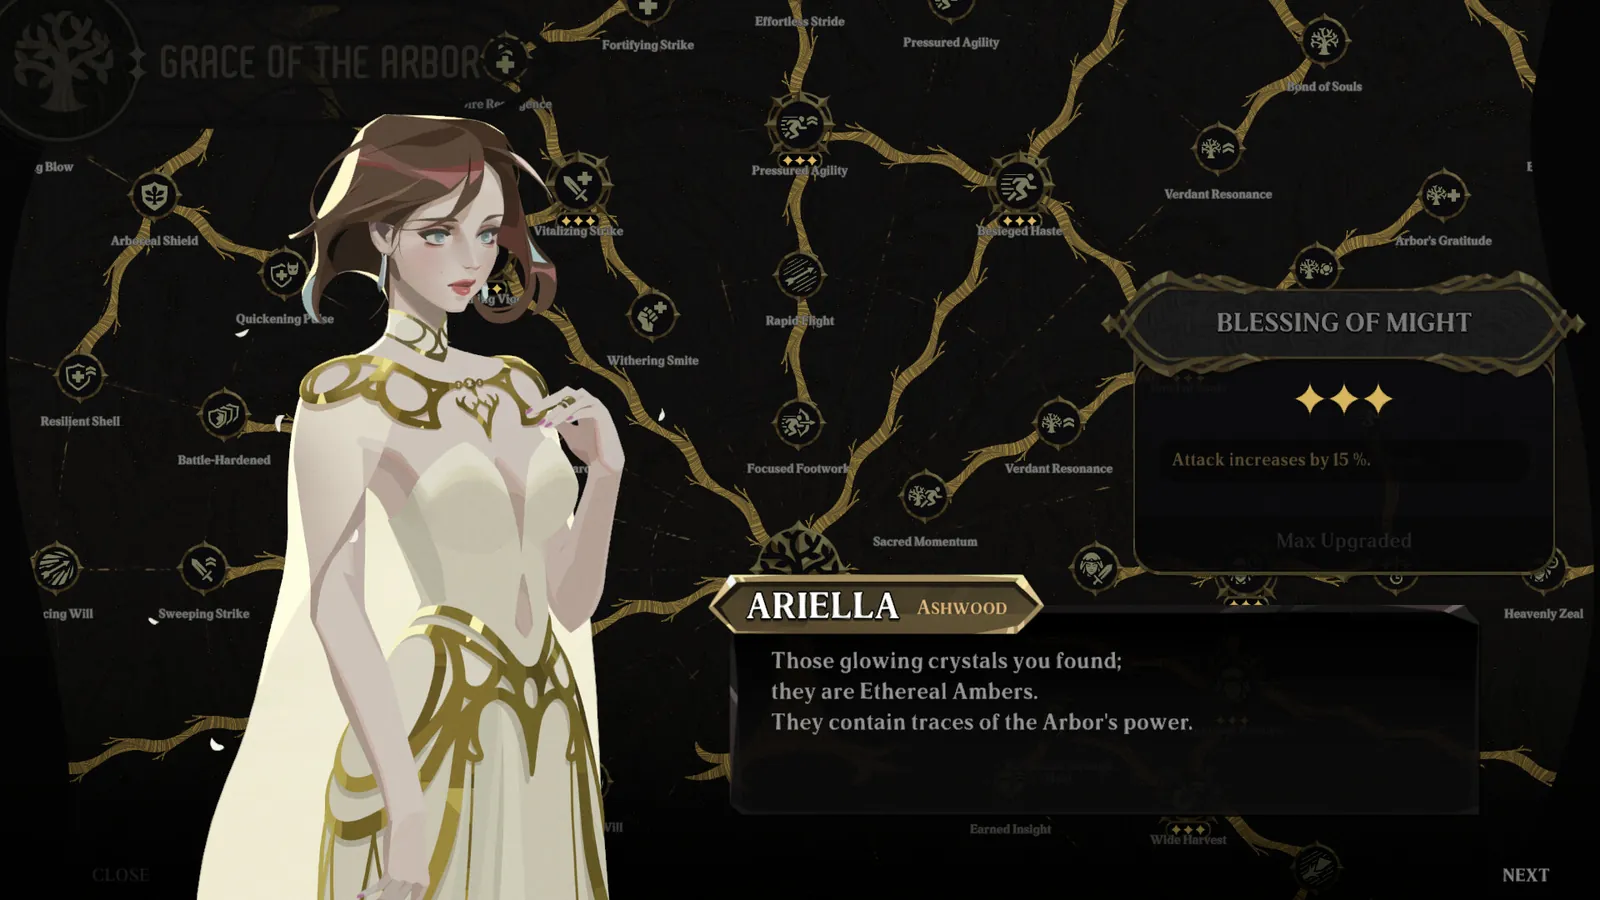
- Grace of the Arbor — a permanent node tree fed by Amber. This is the only progression that survives death.
The five currencies
Every currency has exactly one job, and the game never lets you convert between them. That makes the shopping decision simpler than it first looks.
| Currency | Comes from | Spent on |
|---|---|---|
| Amber | Bosses, Arbor purification | Grace of the Arbor nodes |
| Dew | Treasure monsters, Arbor purification | Unlocking and recharging Artifacts |
| Claynite | Bought from a vendor | Crafting relics in the Workshop |
| Shards | Monsters, breakable props, purification | Choosing a Blessing on level-up |
| Blood Crysts | Bosses | Enhancing weapons at the Forge |
Run versus save
Blessings and Arcana reset. Relics and Grace nodes do not.
That split tells you where to spend attention first: the permanent systems raise the floor of every future attempt, while the run-scoped systems only pay off if the attempt reaches the boss. A player who dies at the first elite should be buying survival nodes, not damage.
What the demo actually contains
The demo includes all four systems in some form — Blessings and Arcana in full, relics and the Grace tree partially — because Demo 2.0 rebuilt the whole chain around the new combat core. What it does not include is the rest of the progression content that arrives with Acts 2 to 5.
 Official media
The order worth following
- Learn what a Blessing does when you link it to a dash. That is free and it changes every run.
- Put the first Amber into stamina recovery, not damage.
- Craft a relic only when you know which slot you are trying to fill.
- Leave the weapon Forge alone until you can reach the Act 1 boss consistently.
Nothing here is a build guide
Damage multipliers, drop rates and enemy resistances are not published, and the demo's balance has changed with every patch. What follows on each page is how the systems behave, not which combination wins.