
If the first demo felt dull to play, that was the point LINE Games conceded in its own director's note: combat was satisfying on a basic level but had no depth, and switching weapons did not change how you fought. Demo 2.0 rebuilt the action layer around combo branching and stamina to fix exactly that.
Four systems now decide a fight: the combo you chain into, the stamina you are willing to spend, the counter window you hit, and the Break gauge you empty. Everything else — Blessings, Arcana, relics — modifies one of those four.
Combos branch by input order
Light and heavy attacks chain into different combos depending on the sequence you feed them. Each branch has its own animation, its own reach and its own stamina cost, and the branches exist for different situations rather than as a damage ladder.
The practical consequence is that you cannot hold one rhythm all fight. A branch that covers a wide arc is the right answer when enemies surround you and the wrong answer against a single elite, because the recovery frames leave you standing in the one attack that matters. Reading which branch a situation wants is the skill the system is testing.
Combos interrupt elites
Elite enemies no longer stagger from light attacks, but a completed combo will interrupt their attacks. Trading single light swings with an elite is the most common way to lose a run that was going well.
Stamina is the real health bar
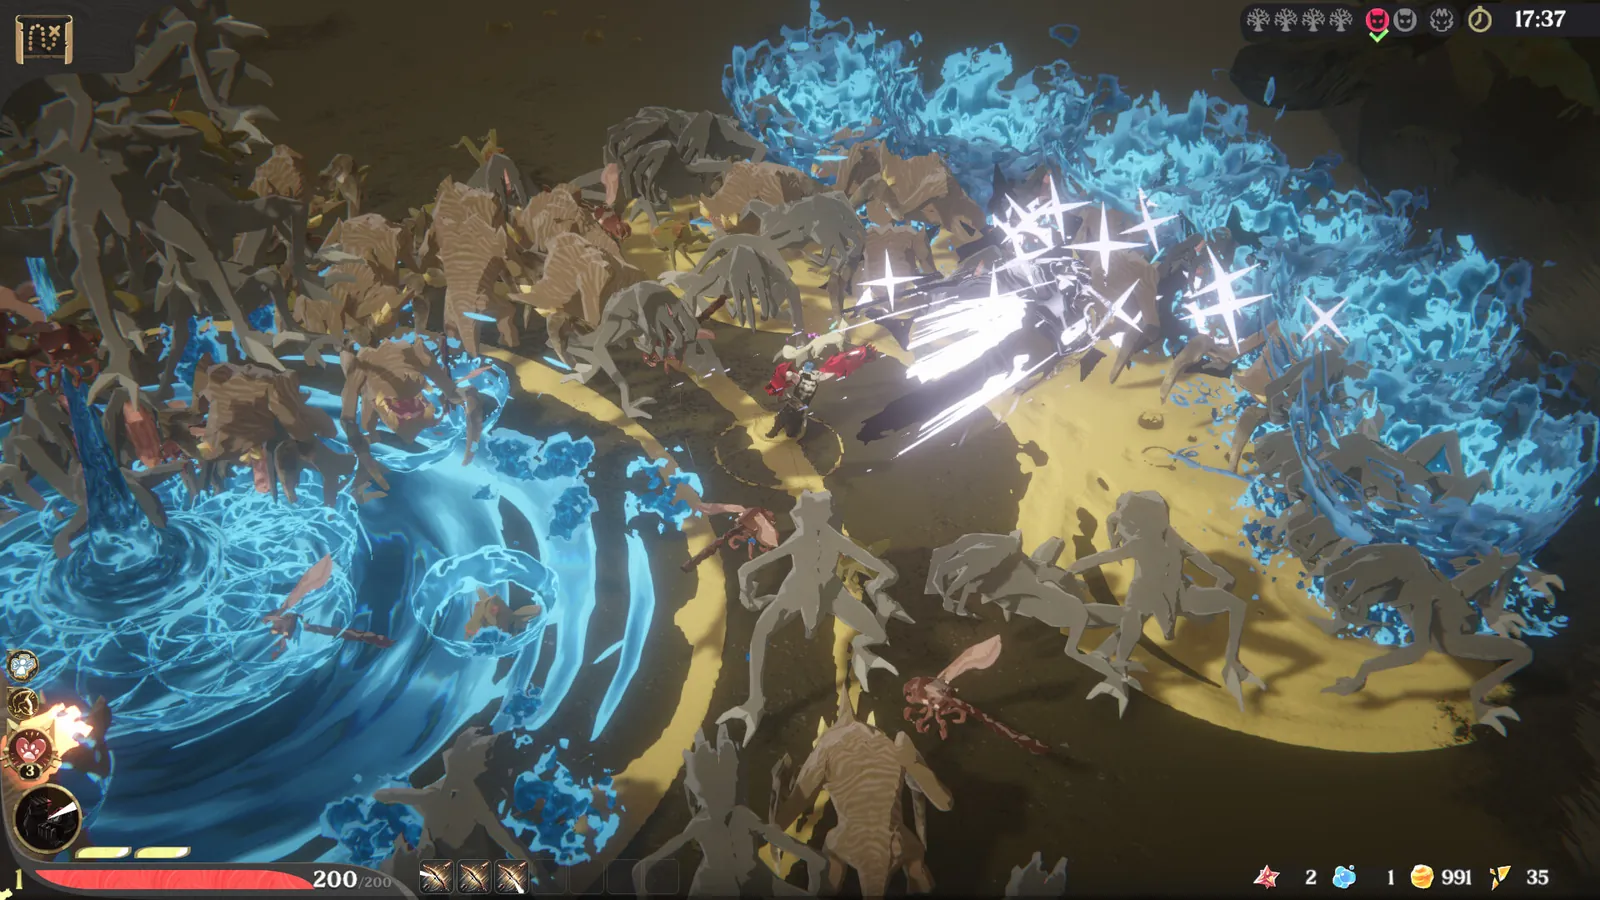
Dashing and heavy attacks both draw from the stamina gauge. Different combo branches cost different amounts, and emptying the gauge drops you into an exhausted state until it refills — no dash, no heavy, no escape.
That single rule turns stamina into the resource you are actually managing. Damage taken is usually a consequence of a decision made two seconds earlier, when the gauge was already low and you dashed anyway.
Three things raise the ceiling on how much stamina you can spend:
- Growth. Maximum stamina and recovery speed both sit on the Grace of the Arbor tree.
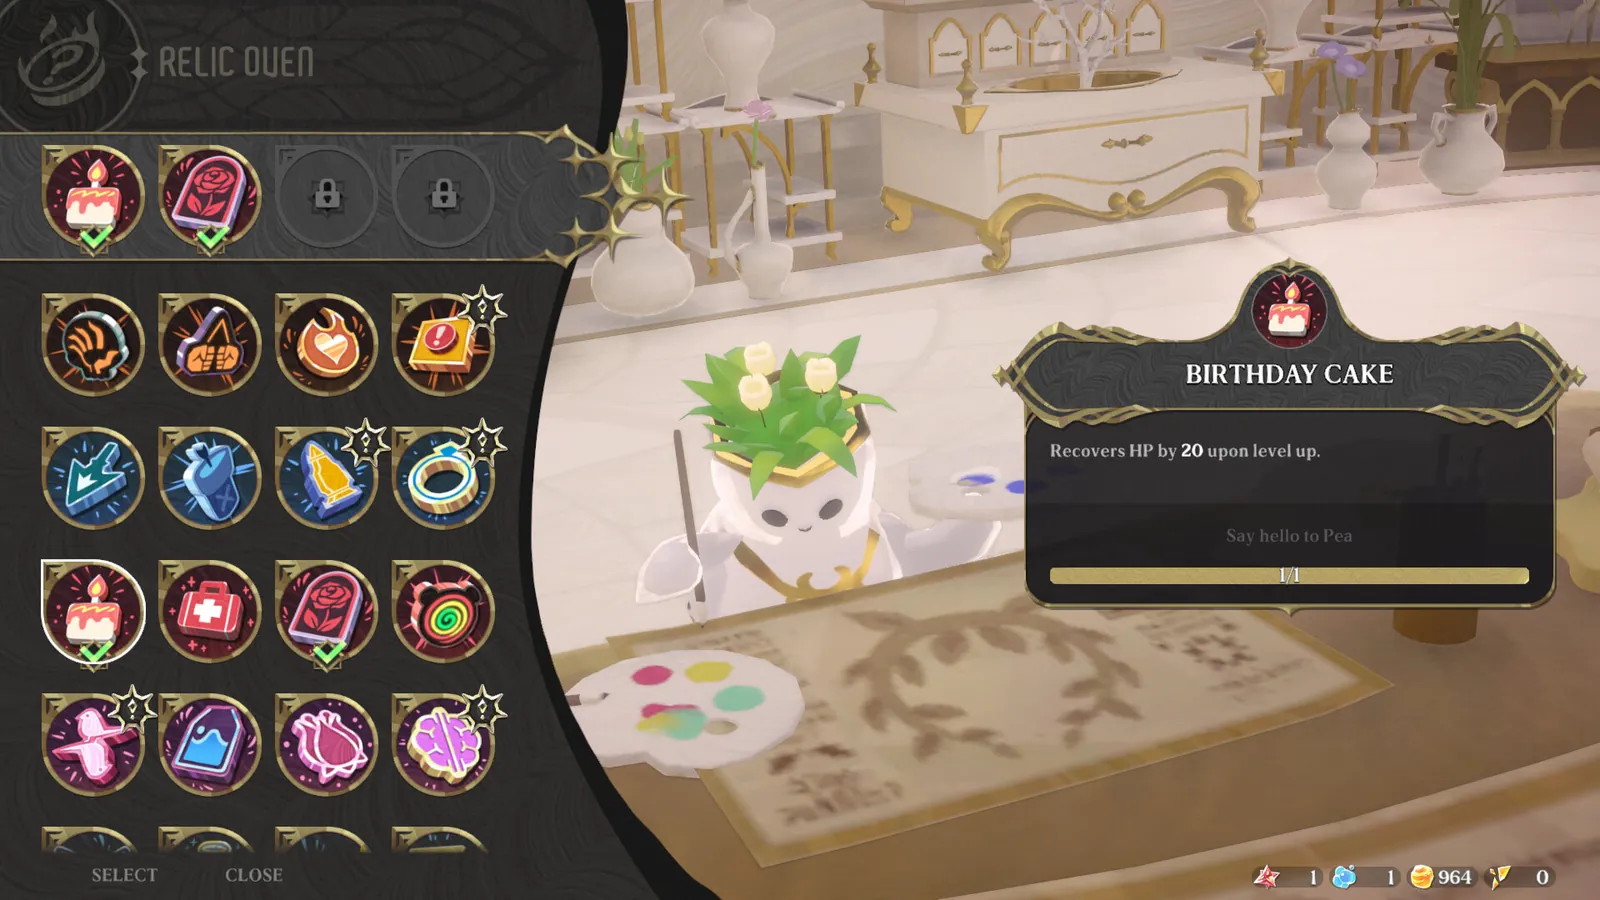
- Arcana. Some cards restore stamina when a dash attack connects; others raise attack or movement speed while the gauge is empty, which turns exhaustion into a state worth planning for.
- Loadout. The Shotgun and the Hammer burn stamina faster than the Sword and reward shorter, more deliberate engagements.
 Official media
Flash Counter and the perfect dodge
Flash Counter is the counter window, and it does more than avoid damage: a successful counter reduces an enemy's Break gauge. Since Demo 2.0 it no longer triggers against regular monsters, which means the mechanic is aimed at the fights where a gauge exists in the first place.
The dodge has its own window. Demo 2.2 widened the Split Second perfect-dodge window from six frames to eight, and the sword's heavy attack can now be cancelled into a dash. Both changes push the same direction: the game wants you to be able to leave an animation you committed to.
The Break gauge is the boss fight
Boss-tier enemies carry a Break gauge under their health bar. Hitting them drains it, stronger attacks drain more, and emptying it drops them into a Break state where they stop acting for a moment and take significantly increased damage.
That makes the boss fight a two-bar problem. The health bar is what you are reducing; the Break gauge is what allows you to reduce it quickly. Time spent chipping the health bar while the gauge refills is time the boss uses to reset the fight.
 Official media
Blow: the environment is a weapon
Enemies can be knocked back off cliffs and into water. If a knocked-back enemy hits a wall, it bounces. Every monster has knockback animations built for this, which is why the game keeps putting ledges and pools in the middle of arenas.
The reverse is also true, and the game is fair about it: the same geometry that lets you delete a pack can end your run. Fighting with your back to water is a decision, and the arena design usually makes it the tempting one.
Input buffering and camera
Two smaller changes from Demo 2.0 shape how a fight feels without appearing in any menu. Attack pre-input handling was reworked so a queued input fires at the end of the current animation instead of being dropped, and targeting rules were refined so that buffered attack does not swing at something behind you. The camera also reacts as combos progress, pulling back through a wide branch and tightening on a single target.
Neither is a mechanic you can grind, but both explain why a chain that looks impossible in a clip feels manageable once you stop mashing: the game holds your next input for you, and it will not spend it on the wrong enemy. When a combo drops mid-fight, the cause is usually an input queued too early rather than a missed window.
What to practise first
Three drills, in order, and Act 1 becomes a different act:
- Chain light into heavy and heavy into light until you can do both without looking at the input.
- Fight one elite using only heavy and dash attacks, and count how long it takes to interrupt it.
- Fight the Baphomet training dummy in the Sanctuary and watch the Break gauge drain rather than the health bar.
Do those three and the systems stop feeling like rules and start feeling like options. The rest of the build — Blessings, links, Arcana — is about stacking advantages on top of a fight you can already win on inputs alone.